We are reader supported. When you purchase through links on our site, we may earn an affiliate commission. Also, as an Amazon affiliate, we earn from qualifying purchases.
Football helmets tell a story. Some of it is paint and polish. Much of it is stickers. Those small decals can show performance, leadership, identity, and even community. This guide breaks down what those stickers mean, how teams use them, how to apply them right, and how to build a sticker program for your team. You will leave knowing exactly why those dots, stars, bones, and initials matter on Friday nights and college Saturdays.
What Do the Stickers on Football Helmets Mean?
Quick definition
Helmet stickers are small vinyl decals applied to the shell to recognize performance, communicate information, or honor people and causes. Some designs are permanent team branding. Others are earned week by week. A few are required for safety and compliance. Each category signals something different to coaches, players, officials, and fans.
The roots of the tradition
Sticker awards gained traction in college football in the late 1960s and 1970s. Teams began using small symbols to reward impactful plays and consistent effort. The practice spread across the country and eventually into high schools and youth programs. Many teams developed unique icons that tie into their mascots, school history, or regional culture. Over time, decals also became a way to mark participation in playoffs, bowl games, or rivalry trophies.
Beyond awards: other stickers you see
A helmet can carry more than just performance marks. You might see manufacturer warning labels, the NOCSAE certification seal, number decals, conference logos, memorial ribbons, and special-event decals. None of these are random. Each has a defined purpose and placement standard, especially at the high school level under NFHS rules and in college under NCAA oversight.
Types of Stickers and What They Signify
Merit and award decals
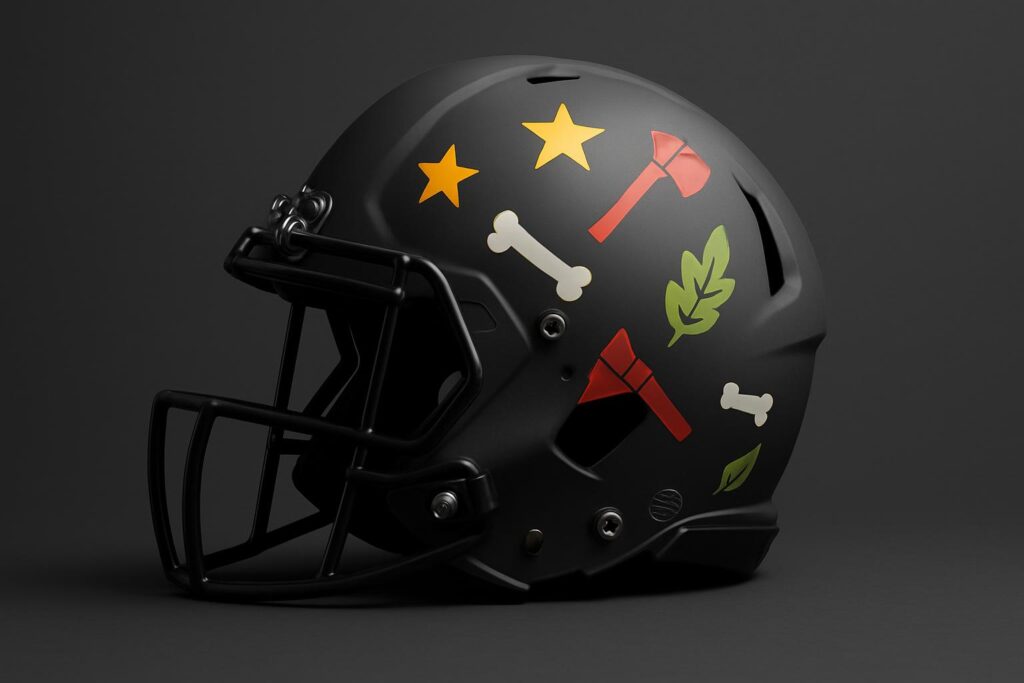
These are the small symbols most fans notice. Common shapes include stars, bones, tomahawks, leaves, or custom logos. Players earn them for impact plays, graded film scores, practice habits, and leadership. Offensive linemen might earn awards for plus grades on combo blocks. Defensive backs may earn them for pass breakups or correct run fits. Special teams units often have their own criteria for tackles, blocks, or perfectly executed assignments.
Team and identity decals
These are the large team logos on the sides, school initials, or mascot marks. They are part of the helmet’s core look and are applied by equipment staff before the season. Teams also use stripe kits for the crown of the helmet to match program identity. These are not earned; they are standard.
Numbers and positions
Number decals help identify players in practice and games. Some teams apply small front and rear number decals for quick ID in film study and on the sideline. A few programs use small position codes for internal management during practice or camp.
Safety and compliance decals
Every certified helmet carries the NOCSAE seal. Do not cover or remove it. Manufacturer warning labels and reconditioning or recertification date decals must remain visible. Officials and reconditioners rely on these to verify compliance. Teams often add small inspection marks each season to track asset status.
Memorial and cause-awareness decals
Programs honor teammates, alumni, or community members with small initials or numbers. They may also add cause ribbons during select weeks. These are displayed with care and placed where they will not cover required safety decals.
Special events and milestones
State playoff participation marks, rivalry game badges, and bowl game decals all fall here. They capture seasonal achievements for players and fans to remember.
How Teams Decide Who Earns Stickers
Offense
Criteria might include assignment grade thresholds, explosive plays, pancake blocks, key third-down conversions, ball security, or effort plays that spring a teammate. Quarterbacks may earn awards for protection checks or situational management. Backs and receivers might receive both individual and unit awards when their group meets weekly goals.
Defense
Common metrics include tackles within the scheme, tackles for loss, sacks, forced fumbles, takeaways, pass breakups, pursuit plays, and communication checks. Many staffs award stickers for execution on critical downs, red-zone stops, or sudden-change responses.
Special teams
Kick coverage tackles, blocks that trigger long returns, perfect protections, on-time operation, and excellent field position outcomes all earn recognition. Units often have minimum effort and lane-integrity requirements before awards count.
Practice and character
Coaches also reward scout team excellence, lifting and conditioning benchmarks, film and meeting habits, punctuality, and leadership actions. Some programs add academic awards tied to GPA or weekly study-hall results.
Policy and tracking
Good programs publish their criteria. Staff assigns stickers in a consistent way, usually during a weekly team meeting. Many use a shared tracking sheet and verify with film. Some schools cap totals per game to keep the look clean and the recognition meaningful.
Why Helmet Stickers Matter
Motivation that players feel
Stickers provide immediate, visible feedback. A player sees growth on their helmet across a season. Teammates notice. Parents and fans notice. That visibility drives buy-in and reinforces team standards.
Culture and identity
Stickers turn values into actions. Programs that reward the right habits can shift how players prepare and how units play. Over time, the decal style becomes part of program identity. It connects current athletes to alumni who wore the same symbols.
Coaching and teaching tool
When stickers align to assignment grade, communication, and effort, they help coaches teach details. Players understand the target and see week-to-week progress.
Fan engagement
Fans can read a helmet and see which players have stacked strong weeks. That creates storylines and celebrates the work that casual viewers may miss in live action.
Rules, Safety, and Best Practices
Know your rulebook
Do not cover or remove the NOCSAE seal or manufacturer warnings. Follow NFHS or NCAA uniform guidelines and any state association or league rules. Some schools require administrative approval for memorial decals. Check with your equipment manager before adding anything.
Placement matters
Award decals usually go on the back panels or the rear quadrants of the shell. Keep them clear of ridge lines where adhesion is weak. Avoid vents, grommets, and hardware. Do not block the vision of spotters who check for cracks.
Use the right materials
Choose thick, UV-resistant vinyl with a strong, flexible adhesive. Thin paper stickers peel under sweat, heat, and turf abrasion. Look for rounded corners to resist lifting. Vinyl designed for helmets conforms to curves better and lasts longer.
Reconditioning and end-of-season removal
Many high school and college helmets go out for annual reconditioning. Decals come off before inspection. Use plastic-safe cleaners to avoid damage. Do not use solvents that can weaken polycarbonate shells.
How to Start a Helmet Sticker Program
Set your goals
Choose what behaviors you want to reinforce. Connect awards to assignment, effort, communication, and team results. Balance individual stats with unit goals so linemen and special teams get recognized fairly.
Choose designs and sizes
Most award decals are 1 inch. Larger numbers may run 1.5 to 2 inches. Keep shapes simple for visibility at a distance. Use school colors. Create a legend that explains each symbol. Decide whether you will rotate designs by unit or keep one style for the whole team.
Define clear criteria
Write simple rules for how a player earns a sticker. Link each criterion to film or data. Decide whether penalties or mental errors subtract awards. Publish the list and review it in camp and midseason.
Plan placement and caps
Pick zones on the helmet where stickers go. Decide if captains or seniors get a different zone. Set a cap per game or per season if you want a cleaner look. Keep required safety labels uncovered.
Track and present weekly
Assign a coach to record awards each weekend. Present stickers at a consistent time, such as a Monday team meeting. Show several film clips to connect awards with teaching points.
Revisit and tune
After a few weeks, ask whether the program is driving the behaviors you want. Adjust criteria if awards skew to one position or neglect critical jobs that lack stats.
Application Guide: Put On Stickers Like a Pro
Prep the surface
Wash the helmet shell with mild soap and water. Rinse and dry completely. Wipe the area with a light pass of isopropyl alcohol and let it flash off. Work in a warm, dry space. Aim for about room temperature or a bit warmer so the adhesive flows.
Positioning
Plan your layout before peeling. Lightly mark guides with painter’s tape if needed. Keep a small gap between stickers so the helmet does not look cluttered or unbalanced.
Apply with firm pressure
Peel the backing and set the decal from one edge to the other to avoid bubbles. Use a felt-edge squeegee or your thumb with a microfiber between your finger and the sticker. Press firmly, especially around edges and curves. Hold pressure for a few seconds so adhesive wets out.
Aftercare
Let the helmet sit at room temperature for a few hours before practice. Avoid abrasive cleaning for the first day. If a corner lifts, warm it gently with a hair dryer and press it back down with pressure.
Removal Guide: Clean Off Stickers Without Damage

Warm release
Use a hair dryer on low to warm the decal. This softens the adhesive. Start at a corner and peel slowly at a shallow angle. Keep gentle heat on the adhesive line as you go.
Residue cleanup
Use a plastic-safe, citrus-based adhesive remover in small amounts on a microfiber cloth. Dab and wipe. Do not soak the shell. Follow with soap and water to remove residue from the remover.
Inspect the shell
Look for cracks, gouges, or deep scratches. Report damage to your equipment manager. Do not try to cover cracks with stickers.
Common Misconceptions
Stickers are just for stars
Strong programs design criteria that reward linemen and role players. Many awards are tied to assignment grade and effort, not just touchdowns or sacks.
More stickers always look better
Too many decals can clutter the shell and cover inspection zones. Caps and placement rules preserve a clean look and keep safety labels clear.
Any sticker will do
Cheap paper labels peel under heat and sweat. Helmet-grade vinyl with the right adhesive stays put and prevents edge lift and dirt traps.
Decals are unsafe
When applied correctly and clear of vents and certified labels, decals are safe. Follow your association rules and your equipment manager’s standards.
Frequently Asked Questions
Do all teams use award stickers?
No. Some programs prefer a clean helmet with only logos and numbers. Others go all-in on weekly awards. Both approaches can work.
How many stickers is too many?
Enough to recognize real achievements without blocking labels or crowding the shell. Many teams cap awards per game or per season. Visual balance matters.
Can you reuse decals?
No. Vinyl decals are designed for one application. Removal stretches or damages the adhesive.
Do stickers void helmet warranties?
Quality vinyl decals do not. Harsh solvents and paints can. Follow manufacturer guidance and avoid covering required labels.
Where should I avoid placing stickers?
Avoid vents, sharp ridges, mounting hardware, and any area with required seals or warnings. Do not place decals where they can hide cracks.
Can youth teams run sticker programs?
Yes. Keep criteria simple and positive. Emphasize effort, practice habits, and teamwork over stats. Use larger, easy-to-read shapes and fewer total decals.
A Simple, Repeatable Weekly Workflow
Before the season
Order decals, number sets, and a small application kit. Define criteria and placement zones. Label a tracking sheet for offense, defense, and special teams.
Each game week
Grade film and tally awards. Present stickers in a short team segment. Apply decals after meetings when players are present to celebrate teammates. Capture a photo of standout helmets for internal communications.
Midseason refresh
Clean helmets, press any lifting corners with gentle heat, and add replacements if needed. Review criteria and balance awards if a unit is overlooked.
End of season
Document totals and photos for archives. Remove decals for reconditioning using plastic-safe methods. Save one helmet for a display case if your program does that.
Design Tips That Stand Out
Keep shapes simple
On a moving player, simple shapes read best. Choose strong contrasts and avoid tiny details that blur at distance.
Use unit-specific marks sparingly
Unique icons for position groups can be effective, but too many different shapes clutter the look. Anchor them with a shared team symbol.
Build a legend for fans
Share a short graphic on social or in the game program that explains what each sticker means. Fans learn to spot the stories on the field.
Troubleshooting Common Sticker Issues
Edges keep lifting
Check surface prep and temperature. Clean with isopropyl, dry fully, and apply in a warm room. Switch to thicker vinyl with rounded corners. Use firm, even pressure.
Bubbles appear under decals
Apply from one edge using a felt-edge squeegee. For small bubbles, prick with a pin at the edge and press out air. Better prep often solves this.
Colors fade fast
Choose UV-resistant vinyl. Store helmets out of direct sun when not in use. Clean with mild soap rather than harsh chemicals.
Residue remains after removal
Warm the adhesive, then use a small amount of plastic-safe adhesive remover. Follow with soap and water. Avoid scraping with hard tools.
Conclusion
Helmet stickers carry meaning beyond decoration. They reward effort, codify standards, honor people, and connect a team to its tradition. With clear criteria, quality decals, and good application habits, your program can turn small symbols into steady motivation and a clean, unified look. Start with a simple plan. Place stickers with intention. Track and present awards with consistency. Over a season, those small marks will chart team growth one rep, one play, and one week at a time.